
A golf cart is the perfect place for music. You're outdoors, moving slowly, usually with friends, and there's no engine noise to fight. The problem is that most carts come with no audio at all, and a phone speaker in the cup holder disappears the moment you pull away. A golf cart sound bar fixes that with one clean install. It clamps to the roof struts, packs speakers and often an amplifier into a weatherproof housing, and puts sound right at ear level for everyone on board.
This guide walks you through choosing the right sound bar, powering it safely on an electric or gas cart, mounting it so it stays put, and building it out into a full golf cart audio system if you want more.
Choose Your Build Path First
Before you pick a product, decide how far you want to take the system. Golf cart audio usually falls into one of three paths, and each one changes what you need to buy.
| Build Path | What You Install | Best For |
|---|---|---|
| All-in-one Bluetooth sound bar | Sound bar with built-in amp and Bluetooth | Neighborhood cruising, quick install, lowest cost |
| Passive sound bar plus amp | DS18 HYDRO bar, marine amp, Bluetooth source | Louder, cleaner sound and room to expand |
| Sound bar plus extra speakers | Either of the above, plus front or rear speakers | Full coverage for 4 to 6 seat carts |
Most first-time owners are happiest with path one. If you've ridden in a cart that sounded thin or distorted at volume, path two is the upgrade that solves it.
Path 1, The All-in-One Bluetooth Sound Bar
A Bluetooth sound bar for a golf cart is the simplest way to get music on the move. Everything lives inside the bar, so you only run power, ground and an on/off lead. Pair your phone and you're done.
The Boss Audio BRT26RGB at $225 is a strong starting point for 2 and 4 seat carts. It's 26 inches wide, IPX5 rated against rain and spray, and runs four 4" speakers with two 1" soft dome tweeters on a built-in amplifier. It adds a USB port, aux input, preset EQs, a wireless remote and RGB lighting. Its multi-fit clamps are designed for 1.75" and 2" outer diameter bars.

For wider roofs or longer carts, the Boss Audio BRT37SLR at $299.99 gives you a 37 inch bar with Bluetooth, an IPX5 rating, a built-in amp, 1" tweeters and multicolor lighting. If you want the biggest Boss option with full RGB, the Boss Audio BRT36RGB is $399. A wider bar spreads sound across the whole cabin, which matters on lifted carts and 6 seaters where rear passengers sit further back.
Path 2, A DS18 Golf Cart Sound Bar Build
If you want a sound bar that plays louder and stays clean at higher volume, a passive bar driven by a dedicated marine amplifier is the way to go. This is where DS18 HYDRO gear shines, and it's the setup most people mean when they search for a DS18 golf cart sound bar.
The DS18 SBAR25 HYDRO Sound Bar at $292.46 is a 25 inch bar with four 4" speakers and two 1" titanium tweeters in a powder coated aluminum housing. It handles 100 watts RMS per side, carries an IP65 rating, and has integrated RGB lighting with a tube mounting kit included. Its 94.7 dB sensitivity means it gets loud without needing huge power.
Because the SBAR25 is passive, it needs two more parts to make sound.
An amplifier. The DS18 NXL-N2 HYDRO Nano 2 Channel Marine Amplifier at $324.95 is compact enough to hide under a seat and built for wet environments. If you plan to add more speakers later, the Stinger SPX700X4 4-channel micro marine amp at $249 gives you room to grow.
A Bluetooth source. The AudioControl ACX-BT3 All-Weather Bluetooth Controller at $179 streams from your phone and gives you physical volume control on the dash. If you'd rather have a screen, radio and two-zone control, the DS18 MRX150 HYDRO Marine Head Unit is $374.95.
To control the SBAR25's lighting from your phone, DS18 lists the DS18 LED-BTC Bluetooth Controller at $89.95 as compatible.
Path 3, Adding Golf Cart Speakers
A single sound bar covers the front and middle of the cart well. On carts with rear facing seats, sound can drop off for the back row. Adding a pair of golf cart speakers below the dash or on the rear seat frame evens things out.
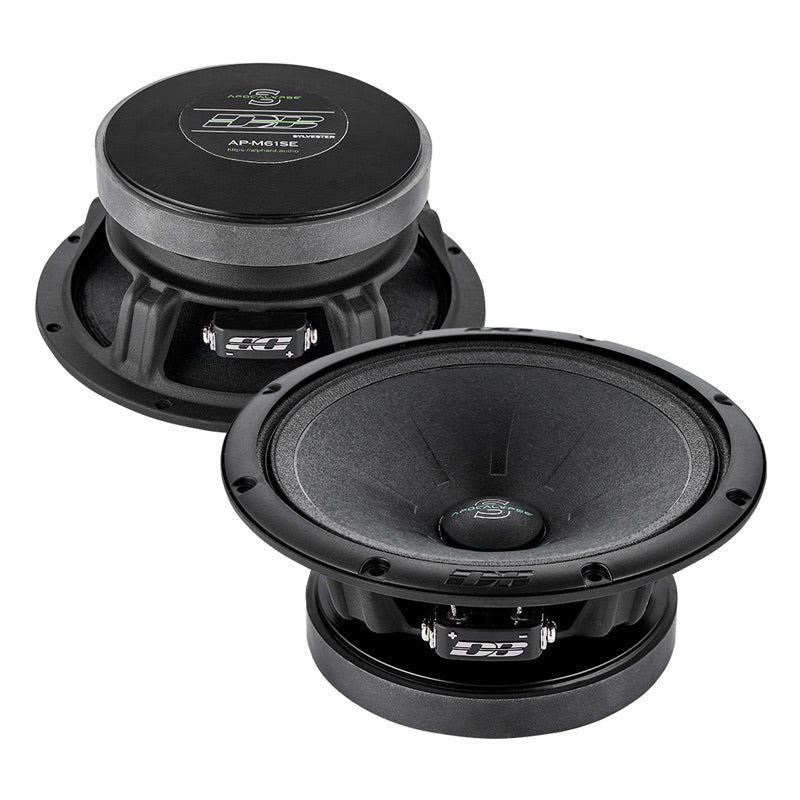
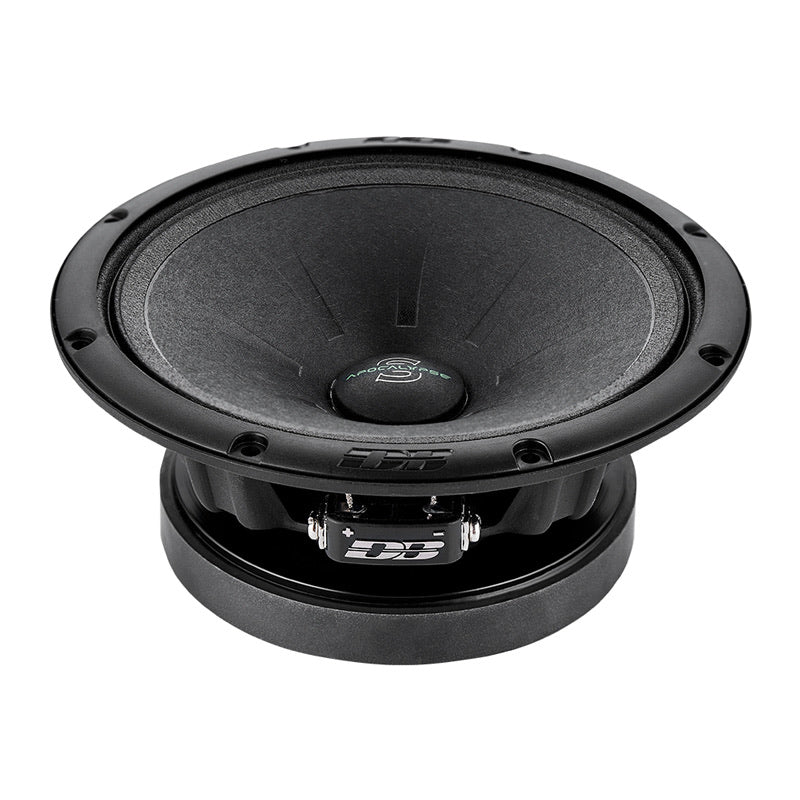
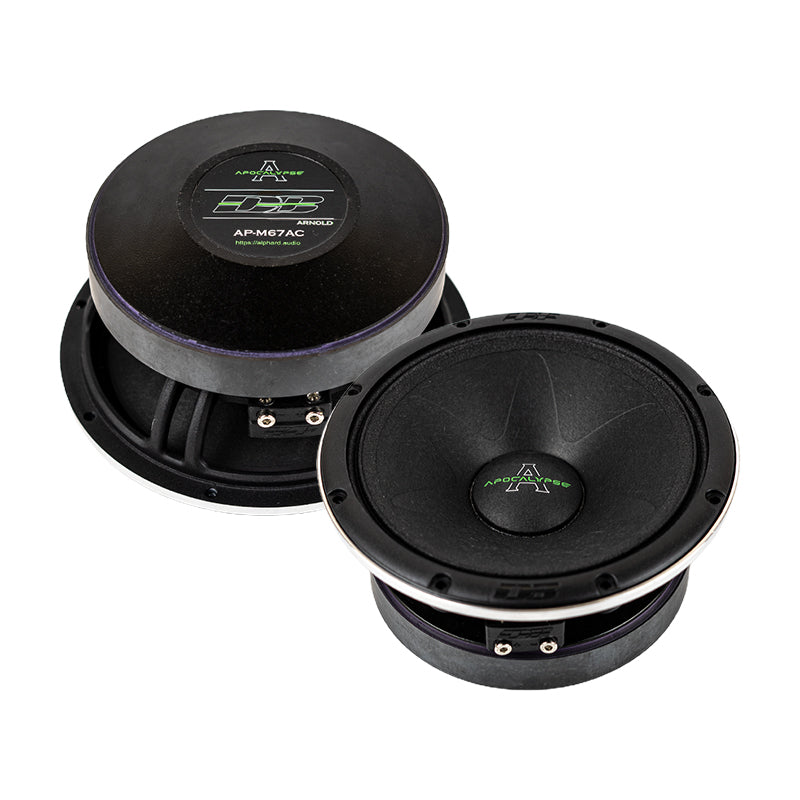
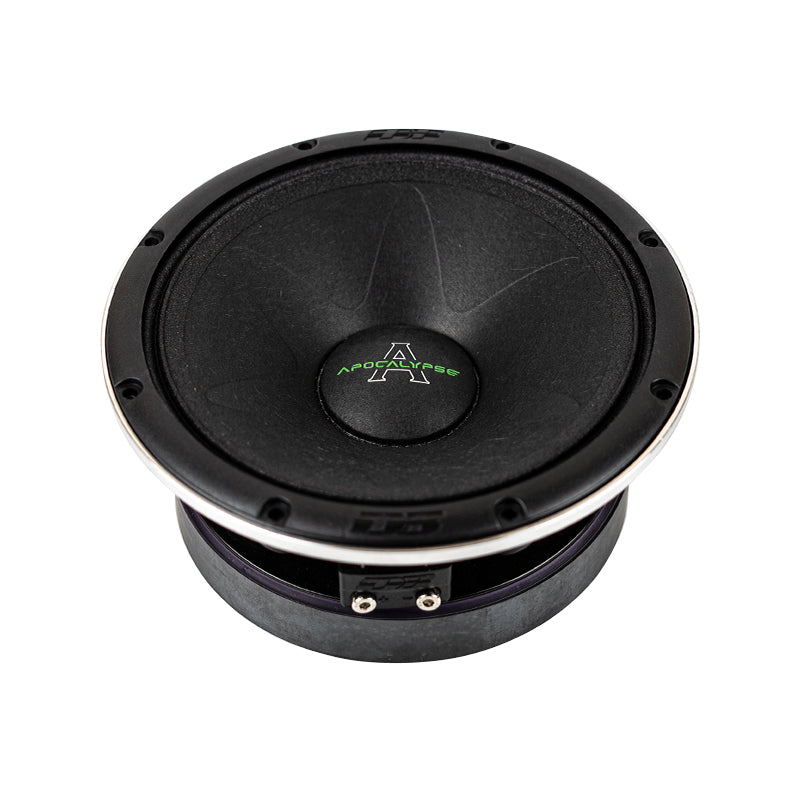
Marine coaxials are the right choice here, since they're built for sun, spray and humidity. The DS18 NXL 6.5" Marine Coaxial with RGB handles 100 watts RMS at $264.95, and the DS18 NXL-6 HYDRO 6.5" is $224.95. You can mount them in enclosed pods from our speaker pods and panels collection. Our comparison of marine speaker pods vs flush mount speakers explains which option suits an open cart better.
Powering a Golf Cart Sound Bar Safely
This is the part most guides skip, and it's the most important step on an electric cart. Sound bars, amplifiers and Bluetooth controllers all run on 12 volts. Most electric golf carts run on a 36 volt or 48 volt battery pack, and some newer lithium carts run even higher. Connecting a 12 volt sound bar directly to the main pack will destroy it instantly.
You have two safe options.
Use a voltage reducer. A DC to DC converter steps the cart's 36V or 48V pack down to a steady 12 volts. Choose one rated for comfortably more current than your audio gear draws. An all-in-one sound bar draws relatively little, but a passive bar with a separate amp needs a higher rated converter. The converter should be fused on its input side and mounted somewhere dry with airflow.
Use a dedicated 12 volt battery. A separate AGM battery just for audio keeps the system completely isolated from the drive pack. The DS18 INF-45 Infinite 45 Ah AGM Power Cell at $159.95 is compact enough for most carts and gives hours of play time. Keep it charged with a proper 12 volt charger between rides.
Gas golf carts are simpler. Most have a 12 volt starting battery and charging system, so you can wire the audio like a small car install.
Important Note: Never tap two 12 volt batteries out of a 36V or 48V pack to get 12 volts. It drains those two batteries faster than the rest, throws the pack out of balance, and shortens the life of every battery in the cart. A proper converter or a separate audio battery costs far less than replacing a full pack.
Fuse and Wire It Right
Whether you use a converter or a separate battery, the 12 volt power lead needs a fuse within about 18 inches of the source. For most sound bar builds, 8 gauge wire is plenty. The Elite Audio EA-OB08G 8 Gauge Amp Kit at $27.99 includes power and ground wire, a fuse holder and terminals in one box. For a sealed connection that holds up to rain and wash downs, the DS18 DS-MFH4 Marine Fuse Holder is on sale at $19.95 (was $24.99). If you're unsure what fuse rating to use, our guide on what size fuse your amplifier needs walks through it.
Mounting the Sound Bar Step by Step
A sound bar that shifts or rattles on bumps gets annoying fast. Take your time on this part.
1. Measure your roof struts. Use calipers or a soft tape to find the outer diameter of the front roof supports. Compare it to the clamp range listed for your sound bar. If the strut is slightly smaller than the clamp, a rubber shim or clamp adapter takes up the gap and stops the bar from rotating.
2. Check the width. Measure the distance between the struts where the bar will sit. A bar that's too wide won't fit between the supports, and one that's much narrower may need extension brackets.
3. Pick the height and angle. Mount the bar high enough that it clears heads when people climb in, but low enough that the speakers point toward ear level. Angle it slightly down toward the seats rather than straight forward. That one adjustment makes a noticeable difference in clarity.
4. Tighten in stages. Snug both clamps evenly, check the bar is level, then fully tighten. Go back and recheck the clamps after your first few rides, since they often settle.
Pro Tip: Before you tighten the clamps for good, connect power temporarily and play music at a normal volume while someone sits in each seat. Tilt the bar a few degrees up or down until everyone hears clear vocals. It's much easier to fine tune the angle now than after the wiring is zip tied in place.
Wiring the System
Once the bar is mounted, route the wiring so it stays protected and out of sight.
Run the power, ground and signal wires down one roof strut. Secure them every few inches with UV-resistant zip ties or wrap them in split loom so they don't flap in the wind or wear against the frame. Bring them down to the area under the seat, where your converter, amp or battery will live.
Connect the ground to a clean, solid point on the cart frame or directly to the negative terminal of your 12 volt source. A weak ground is the most common cause of noise and cutting out, so scrape any paint off the contact point.
For the on/off signal, connect the sound bar's remote or accessory lead to a circuit that switches with the key. That way the system turns off when you park and won't drain the battery overnight. If your amp ever refuses to power up after install, our car amp not turning on checklist covers the same power, ground and remote checks.
Getting the Best Sound Out of It
Open air is the biggest challenge for any golf cart audio system. There are no walls or windows to reflect sound back to you, so bass in particular fades quickly.
Start with the volume on your phone at about 80 to 90 percent, then control the overall level with the sound bar or Bluetooth controller. Running your phone at full volume can feed a distorted signal into the system. If your source has an EQ, add a small lift in the low mids instead of cranking the deepest bass, since small speakers can't reproduce very low notes outdoors without strain.
On a passive DS18 build, set the amplifier gain with the music playing at the volume you'll actually use, and turn it up only until you hear the first sign of distortion, then back off slightly. The same open air principles that help wakeboard boats get their music heard apply here, which we cover in our guide to getting tower speakers to carry over wind and water.
Keeping It Working Season After Season
Weatherproof doesn't mean maintenance free. A little care keeps the sound bar looking and sounding good for years.
Avoid aiming a pressure washer directly at the sound bar, its controls or its wiring connections. IPX5 and IP65 ratings are designed for rain and spray, not full submersion or high pressure jets. Wipe the grilles down after dusty or muddy rides, and check the clamps and wire ties at the start of each season. If the cart will sit for the winter, disconnect the 12 volt audio battery or converter so nothing drains while it's parked.
Questions Golf Cart Owners Ask
Will a sound bar drain my golf cart batteries?
A sound bar draws very little power compared to the drive motor. When it's wired through a key switched circuit and a proper 36V or 48V to 12V converter, the impact on range is minimal. Using a separate 12 volt audio battery removes the drain from the drive pack entirely.
Do I need an amplifier for a golf cart sound bar?
Only if you choose a passive bar. All-in-one Bluetooth bars like the Boss BRT series have amplifiers built in. Passive bars like the DS18 SBAR25 need an external amp and a Bluetooth source, but they reward you with more volume and cleaner sound.
What size sound bar fits a golf cart?
Most 2 and 4 seat carts work well with a 25 to 26 inch bar, while wider roofs and 6 seat carts suit a 36 or 37 inch bar. Measure the space between your front roof struts and the strut diameter before ordering, since both decide whether the clamps will fit.