
Digital Signal Processors have greatly improved the audio systems in cars. By adjusting it, a DSP can make any simple setup deliver music with great detail and depth. To get the most from your audio system, you need to set it up properly and not just leave it as it comes right from the box.
If you’re moving from a factory head unit to building a full custom system, it would benefit you greatly to learn how to tune a DSP so you get clean highs, punchy mids and tight bass. This is not about the increase of every frequency: it’s about your audio environment shaping to clarity and balance.
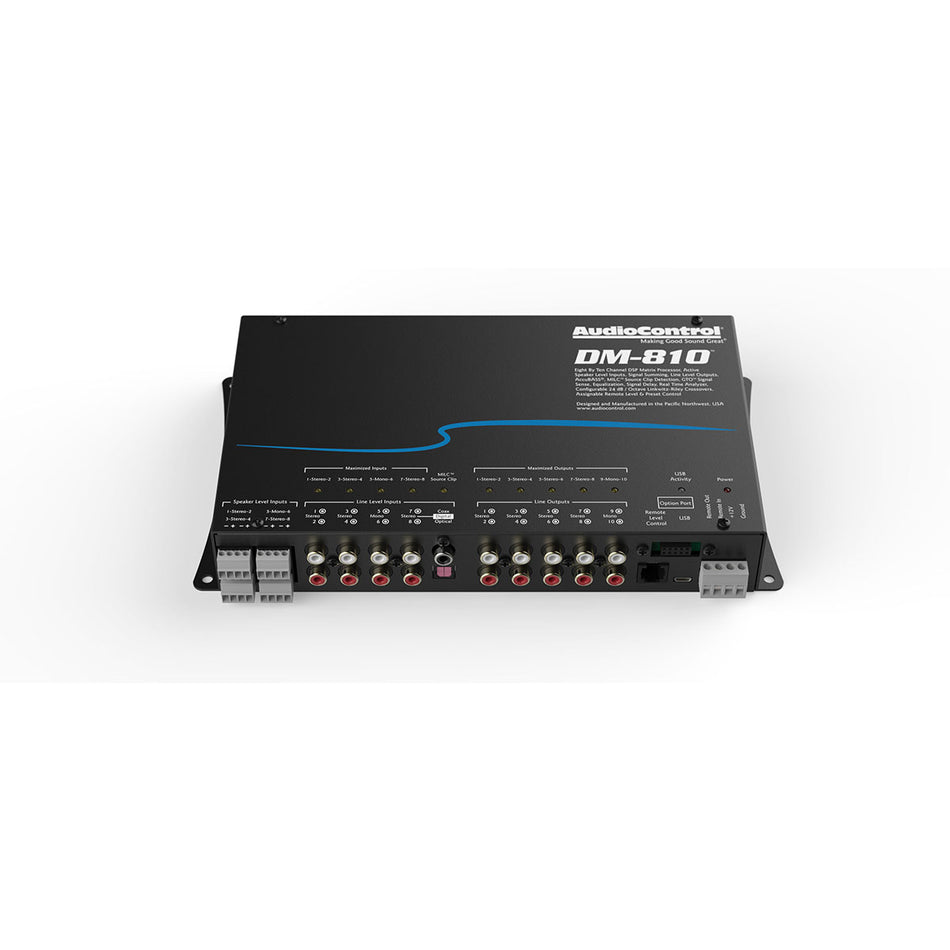
Why DSP Tuning Matters in Car Audio?
Cars are far from ideal listening environments. Uneven speaker placement, road noise, and reflective surfaces all distort sound. That’s where DSPs come in. They allow for:
-
Time alignment to correct speaker positioning
-
Equalization (EQ) to balance frequencies
-
Crossover control for precise signal distribution
-
Input summing and de-EQ to flatten factory settings
With a DSP properly tuned, a basic system can be phenomenal and a high end system jaw dropping.
So if you’re searching for a car DSP tuning guide, the purpose is neither loudness nor bass, but clarity, depth and natural tone.
Step-by-Step: How to Tune a DSP
Before diving into settings, make sure:
-
Your system is installed correctly
-
You’ve eliminated rattles and sealed speaker locations
-
Gains are set properly (using an oscilloscope or multimeter if possible)
-
You’re in a quiet environment
Now, let’s break down the tuning process.
1. Start with a Flat EQ
Before making any EQ changes, reset everything to flat. You want a clean baseline to start tuning from.
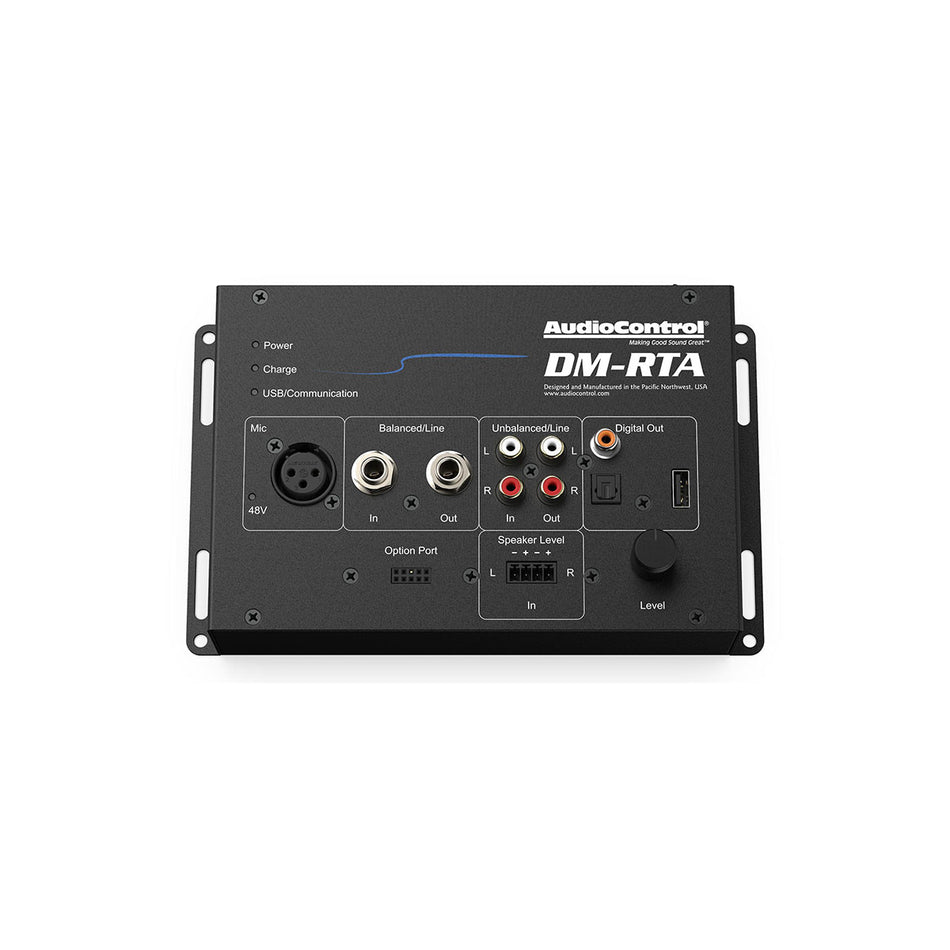
Many factory systems come with baked-in EQ curves. If your DSP has de-EQ features, use them to neutralize these curves. If not, start by measuring output with an RTA (real-time analyzer) to see what adjustments are needed.
2. Set Crossovers for Each Channel
Setting the right crossover points prevents overlap between speakers and ensures each driver only handles the frequencies it's built for.
Common crossover settings:
-
Tweeters: High-pass at 3.5 kHz or higher (12–24 dB slope)
-
Midrange: Band-pass from 80 Hz to 3.5 kHz
-
Midbass: Band-pass from 50–80 Hz up to 500 Hz
-
Subwoofer: Low-pass at 80 Hz or lower
The exact numbers depend on your system. The best DSP settings for car audio are always based on speaker capabilities and placement.
3. Apply Time Alignment
Time alignment makes sure every sound played by different speakers reaches you at the exact same moment. It focuses the image and boosts how clear it appears.
Calculate the distance from every speaker to the driver’s headrest and load the numbers into the DSP. Some tools can be used in inches or milliseconds.
For example:
-
Left door speaker: 24 inches
-
Right door speaker: 36 inches
Your DSP will delay the closer speaker (left) so sound aligns perfectly. If you don’t want to measure manually, use pink noise and tune by ear or with a phase alignment app.
4. EQ for Tonal Balance
Now it’s time for audio processor tuning using an EQ. You can tune by ear or with a mic and RTA setup. Either way, go for a natural, non-fatiguing sound.
Start with broad strokes:
-
Cut boomy low mids (around 200–300 Hz)
-
Smooth harsh highs (3–6 kHz)
-
Tame nasal mids (600–800 Hz)
Boost sparingly. It’s better to cut problem frequencies than raise others. Use narrow Q values for precise changes, and listen critically with familiar music.
Example:
If vocals sound muddy, try reducing 250 Hz slightly. If cymbals feel too sharp, dip around 5 kHz.
5. Level Matching
Use your DSP to balance output from each speaker. This isn’t about loudness—it’s about staging. You want vocals to sound centered, not skewed left or right.
Use pink noise and an SPL meter (or app) to set equal loudness between channels. Then fine-tune by ear.
If your system includes a center speaker or rear fill, keep their levels low—just enough to add dimension without overpowering the front stage.
6. Adjust for Listening Position
Most DSPs let you save multiple presets. You can tune specifically for:
-
Driver only
-
Driver + passenger
-
All seats
If your system uses a controller or Bluetooth app, switching between these on the fly can dramatically improve the experience depending on who's in the car.
7. Use Presets for Music Styles
Some DSPs allow custom tuning profiles for different music. For example:
-
Rock mode: Emphasize midbass punch and guitar bite
-
Hip-hop mode: Boost sub-bass and smooth vocals
-
Acoustic mode: Focus on clarity and soundstage
Having options makes your system more versatile. But always start with a neutral, reference-grade profile before tweaking.
Digital Tuning Tips from the Pros
Even with great tools, tuning takes practice. Here are some expert digital tuning tips:
-
Use high-quality music files when tuning (lossless or 320kbps MP3)
-
Tune at moderate volume—not too loud or too quiet
-
Don’t rely only on visuals—trust your ears
-
Avoid boosting bass too early—get the mids and highs right first
-
Take breaks—ear fatigue skews perception over time
Common DSP Tuning Mistakes to Avoid
Here are a few pitfalls that can ruin even a well-installed system:
-
Over-EQing: Too many adjustments can kill dynamics
-
Skipping time alignment: Leaves the soundstage collapsed
-
Boosting sub-bass too high: Creates rumble but masks detail
-
Setting crossovers too wide: Leads to phase issues and distortion
-
Not adjusting for road noise: A system that sounds good in a garage may fall apart on the highway
Great tuning is subtle, not aggressive. The best results are the ones you don’t notice—they just sound “right.”
Fine-Tuning Is an Ongoing Process
Even after your initial tuning session, keep refining. Listen over a few days. Try different tracks. Test at different volumes. Make small changes and note what works.
If you’re serious about getting every last detail right, consider hiring a professional with an RTA and mic setup. But even DIY tuners can achieve stunning results with patience and the right digital tuning strategy.
Achieve Maximum Clarity with the Right DSP Setup
A DSP is the brain of your car audio system. It can take mismatched factory signals and sculpt them into something that sounds like a live performance. But only if it’s tuned correctly.
No matter if you’re building a professional audio setup or just making your ordinary car play sound better, working on your DSP is always worth the effort.
To have clarity, lots of detail and a musical sound, you need to be balanced, precise in timing and have good tuning. Use the right tools, rely on your hearing and you will discover your favorite songs in a different way.