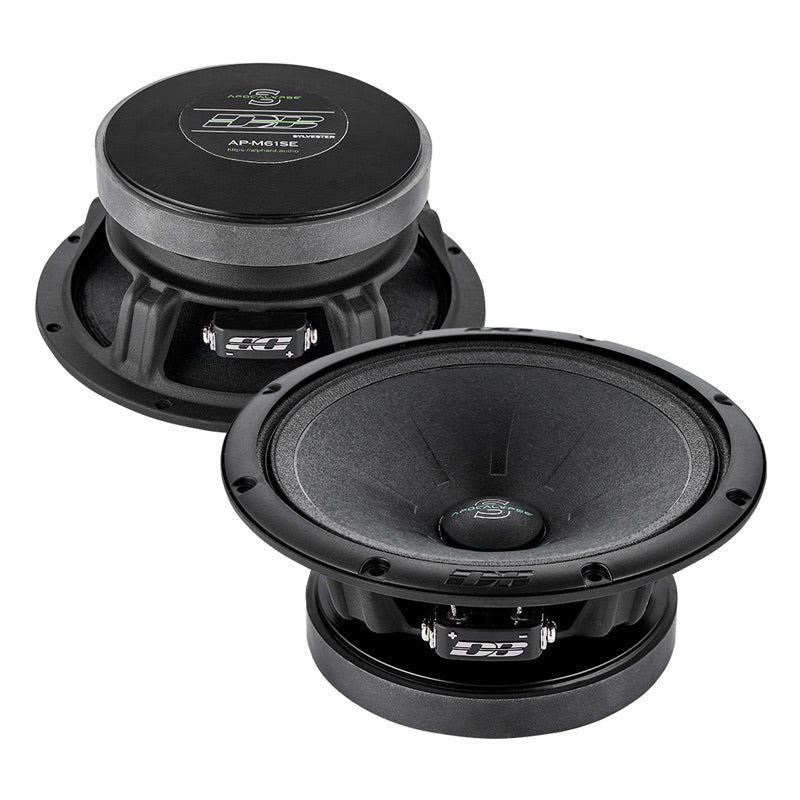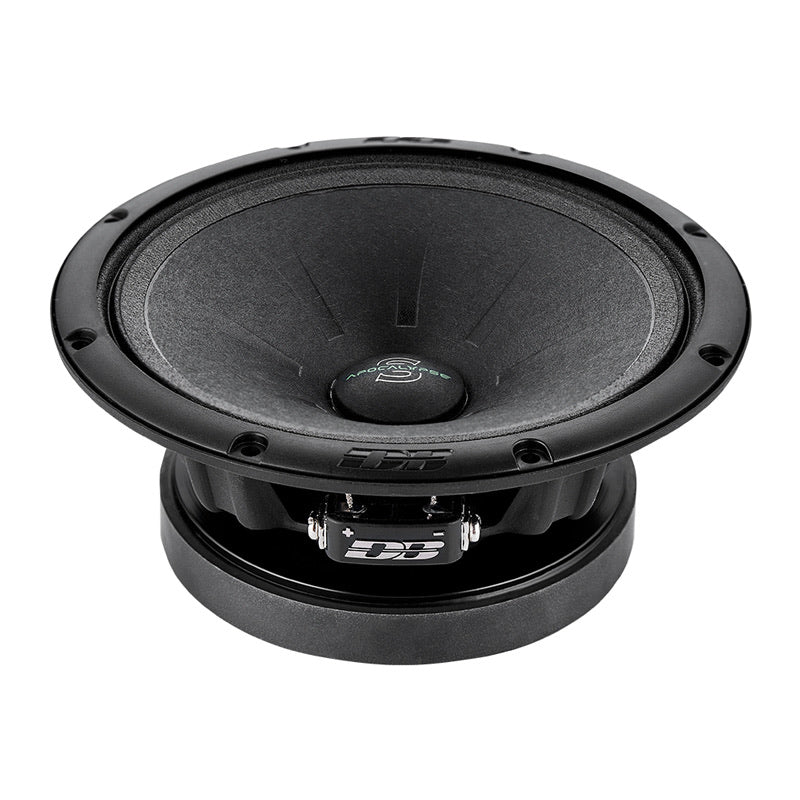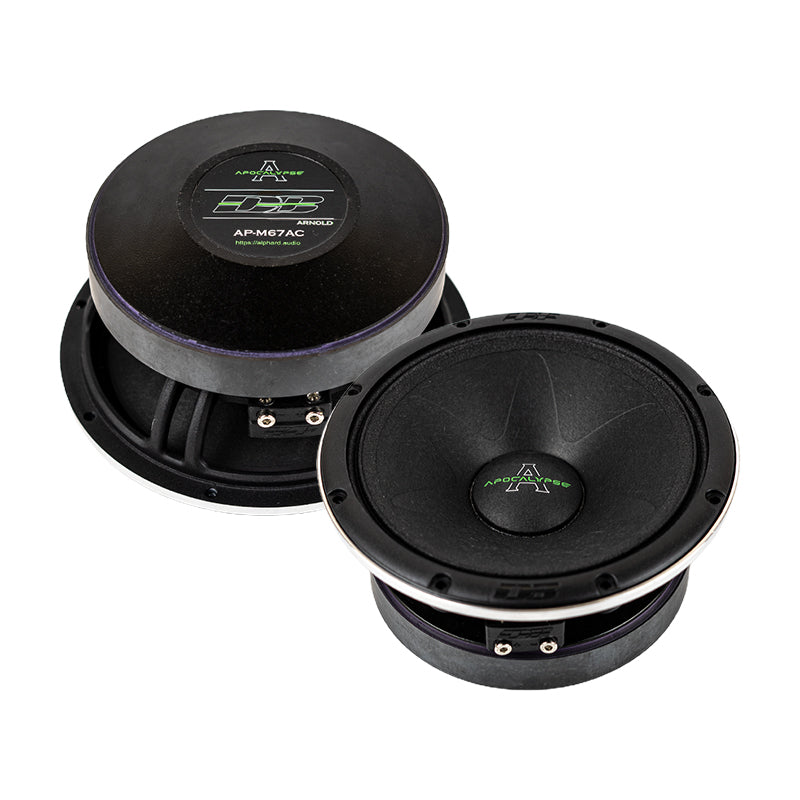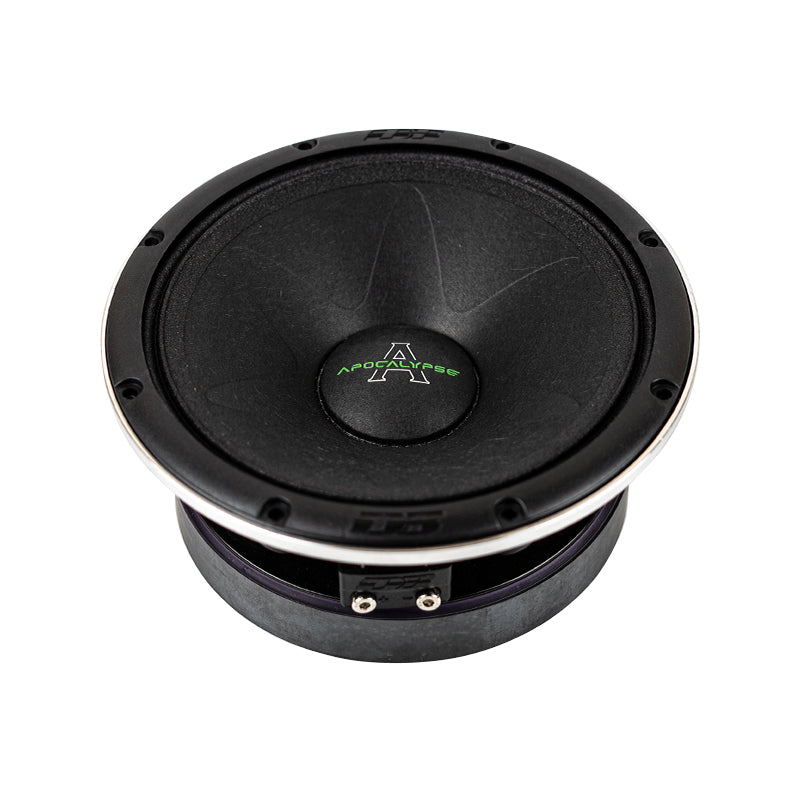

For beginners, the smartest approach is to build the system in stages. Replacing speakers is one project. Adding an amplifier is another. Bringing in a subwoofer and enclosure adds another layer. Understanding how these pieces connect makes the entire installation easier and helps you avoid common mistakes.
What Does a DIY Car Audio Installation Involve?
A car audio installation can range from a simple speaker replacement to a complete system containing a head unit, component speakers, multiple amplifiers, subwoofers, an audio processor, and custom enclosures.
The complexity depends on what you are changing. Swapping factory coaxial speakers may require little more than removing a door panel, disconnecting the original speaker, installing the replacement, and securing the wiring. Installing an amplifier requires much more attention because you are dealing with power distribution, grounding, signal connections, and gain settings.
A typical upgraded system may include:
-
Factory or aftermarket head unit
-
Front and rear speakers
-
Component speakers with separate tweeters
-
One or more amplifiers
-
Subwoofer
-
Subwoofer enclosure
-
Speaker wire
-
RCA cables
-
Power and ground cables
-
Fuse holder and fuse
-
Remote turn-on wire
-
Speaker adapters or mounting brackets
-
Line output converter when required
Elite Auto Gear's car audio selection includes speakers, amplifiers, subwoofers, enclosures, RCA cables, amp kits, wiring, and audio processors, making these components part of the same broader upgrade ecosystem.
Before You Start: Know Your Factory System
One of the easiest ways to make a DIY installation harder than necessary is buying components before understanding the vehicle's existing audio system.
Start by identifying the factory head unit, speaker sizes, factory amplifier configuration, and available space. Some vehicles use a basic radio connected directly to the speakers, while others have factory amplifiers, premium audio packages, multiple channels, or signal processing built into the system.
Newer vehicles can be especially complicated because the factory infotainment system may control more than music. Replacing the head unit or tapping into factory wiring without understanding the system can affect other functions.
Check the vehicle-specific installation information before removing anything.
Check These Specifications First
| What to check | Why it matters |
|---|---|
| Speaker size | Determines what physically fits |
| Speaker impedance | Helps ensure amplifier compatibility |
| RMS power rating | Shows the power a speaker is designed to handle continuously |
| Mounting depth | Prevents clearance problems behind the speaker |
| Factory amplifier | Changes how aftermarket equipment should be connected |
| Head unit outputs | Determines available signal connections |
| Available installation space | Helps with amplifier and enclosure placement |
| Battery and charging system | Important for larger audio systems |
Do not choose speakers based solely on the largest wattage number printed on the box. RMS ratings are generally much more useful when comparing how components should work together.
Tools You Will Need
Having the right tools nearby can make the difference between a clean installation and a frustrating afternoon.
For a basic project, gather:
- Screwdriver set
- Socket and ratchet set
- Trim removal tools
- Wire stripper
- Wire cutter
- Crimping tool
- Multimeter
- Electrical tape
- Heat-shrink tubing
- Zip ties
- Panel fasteners
- Torx bits if required by your vehicle
- Flashlight
- Protective gloves
A multimeter is particularly useful when checking continuity, identifying wiring, and verifying electrical connections. Avoid guessing when a quick measurement can tell you what is actually happening.
Step 1: Plan the System Before Removing Anything
Decide what you want the finished system to accomplish.
If your main complaint is muddy or weak vocals, better door speakers may provide the improvement you want. If you want more volume and dynamic range, an amplifier may be the next logical step. If your music feels thin because it lacks low-frequency impact, adding a properly matched subwoofer and enclosure can make a much bigger difference.
Think about the system as a chain:
Source → Signal → Amplifier → Speakers/Subwoofer → Enclosure → Vehicle
Every part affects the result.
You also need to decide whether you are keeping the factory head unit. Keeping it can preserve factory features and reduce installation complexity, but integrating an amplifier or subwoofer may require a line output converter or vehicle-specific interface.
Step 2: Disconnect the Battery
Before working on vehicle audio wiring, turn the vehicle off and disconnect the negative battery terminal.
This reduces the risk of accidentally shorting a power connection while working with wiring. Keep the disconnected cable positioned so it cannot accidentally touch the battery terminal.
If the vehicle has special procedures for battery disconnection, follow the manufacturer's instructions. Some modern vehicles can require reset procedures or have stored settings that may be affected by power loss.
Never treat vehicle electrical work as something to rush.
Step 3: Remove the Factory Speaker
The exact process varies by vehicle, but door speaker installation commonly starts with removing the door panel or speaker grille.
Use a trim removal tool instead of forcing a screwdriver into visible gaps. Plastic clips can break when excessive pressure is applied, and replacement clips are not always identical to the original parts.
Once the speaker is exposed:
-
Remove the mounting screws or bolts.
-
Carefully pull the speaker forward.
-
Disconnect the factory connector.
-
Inspect the wiring and mounting location.
-
Compare the new speaker with the original before installation.
This is also the point where you should check mounting depth and surrounding clearance.
Step 4: Install the New Speakers
When learning how to install car speakers, pay close attention to polarity.
Speaker terminals are normally marked positive and negative. Maintaining the correct polarity keeps the speakers moving together. Reversed polarity on one speaker can reduce bass and make the soundstage feel unusually weak or disconnected.
Use the correct vehicle-specific speaker adapter when necessary. Avoid improvising a mounting solution that leaves the speaker loose or allows it to vibrate against the door.
Before fully tightening everything, confirm that:
-
The speaker sits securely.
-
The cone has sufficient clearance.
-
Wiring cannot contact the moving cone.
-
The connector is firmly attached.
-
The speaker is sealed appropriately against the mounting surface.
-
The door panel will fit back into place.
A secure mechanical installation matters just as much as the electrical connection.
Step 5: Connect the Speaker Wiring
If the new speaker uses a compatible connector, a vehicle-specific adapter can make the process much cleaner.
If wiring must be modified, identify the positive and negative conductors carefully. Make solid connections using appropriate crimp connectors, soldering methods, or other reliable techniques suitable for automotive use.
Do not leave exposed copper where it can contact metal or another conductor.
After connecting the speaker, gently pull on the connection to make sure it is secure. Then route the wire away from sharp edges, window mechanisms, hinges, and other moving components.
Step 6: Test the Speakers Before Reassembling
Do not immediately reinstall every screw and panel.
Reconnect the battery if appropriate for your installation and test the speaker at low volume first. Listen for output, distortion, rattling, or an intermittent connection.
Move the balance and fade controls through different positions to verify each speaker.
If one speaker is silent, stop and troubleshoot the connection before continuing.
Testing early saves time because discovering a wiring problem after reinstalling a complete door panel means doing the same work twice.
Step 7: Add an Amplifier When More Power Is Needed
Factory radios are designed around the vehicle's original audio components. If your aftermarket speakers or subwoofer need more clean power, an external amplifier can provide it.
Installing a car amplifier requires more planning than replacing speakers because the amplifier needs a suitable power connection, ground, signal input, and turn-on method.
A basic amplifier installation generally involves:
Battery → Fuse → Amplifier power input
and
Amplifier → Ground point
along with the appropriate signal and speaker connections.
The main power fuse should be installed close to the battery so the power cable has protection along its run through the vehicle.
Choosing the Right Amplifier
Match the amplifier to the actual RMS requirements of the speakers or subwoofer.
For example, if a subwoofer is designed around a particular RMS power range, choose an amplifier capable of delivering appropriate power at the subwoofer's impedance. Do not use peak wattage as your only measurement.
Also check the amplifier's impedance requirements. An amplifier designed for a specific load should not be connected to a speaker configuration that falls outside its supported range.
Elite Auto Gear offers different amplifier configurations, including 1-channel, 2-channel, 4-channel, 5-channel, and 6-channel models, which can accommodate different system designs.
Step 8: Run the Amplifier Power Cable
The power cable typically runs from the battery toward the amplifier location.
Route it carefully through an appropriate firewall opening or grommet. Never allow an unfused power cable to rub directly against a sharp metal edge.
Keep the cable secured along its route and away from excessive heat, moving pedals, steering components, and areas where passengers may interfere with it.
Cable size should match the amplifier's current requirements and the length of the run. Larger systems may require heavier-gauge power wiring.
Step 9: Establish a Solid Ground Connection
Grounding is one of the most important parts of installing an amplifier.
Connect the amplifier's ground cable to a solid vehicle chassis point. The connection should be clean and secure, with good metal-to-metal contact.
Paint, rust, and coatings can interfere with the connection. Do not simply attach the ground wire to a random bolt and assume it is sufficient.
A poor ground can contribute to amplifier problems, voltage issues, or unwanted noise.
Step 10: Connect the Audio Signal
The signal path depends on the factory or aftermarket head unit.
With an aftermarket head unit, RCA outputs may provide a straightforward connection to the amplifier. A factory system may require a line output converter or another integration solution, particularly when the original radio does not provide dedicated RCA outputs.
Factory audio systems can also process signals before they reach the speakers. That means simply increasing amplifier gain may not solve every sound problem.
If you are retaining the factory stereo, research the exact vehicle and audio configuration before choosing the integration method.
Step 11: Install a Subwoofer and Enclosure
A subwoofer handles the lower frequencies that smaller door speakers generally cannot reproduce with the same authority.
But the subwoofer itself is only part of the equation. The enclosure influences how it performs.
A sealed enclosure typically prioritizes controlled, compact bass response, while a ported enclosure can be designed for stronger output around its tuning range. The correct choice depends on the subwoofer, available space, desired sound, and manufacturer specifications.
Elite Auto Gear carries sealed, ported, loaded, and vehicle-specific enclosure options, including custom console and truck applications.
Do not select an enclosure solely because the subwoofer fits inside it. Check the recommended enclosure volume and design requirements from the subwoofer manufacturer.
Step 12: Set Amplifier Gain Correctly
Gain is not simply a volume control.
Its purpose is to match the amplifier's input sensitivity to the signal coming into the amplifier. Turning the gain all the way up can introduce clipping and distortion rather than producing better sound.
Start conservatively and use a familiar recording with a clean source. Increase the gain gradually while listening for changes in clarity.
If you hear obvious distortion, harshness, or unwanted noise, reduce the level and check the system rather than assuming the speaker needs more power.
For advanced installations, a multimeter, oscilloscope, or dedicated tuning equipment can make gain setting more precise.
Step 13: Configure Crossovers
Crossovers determine which frequencies are sent to different speakers.
A high-pass filter can prevent smaller speakers from receiving very low frequencies they are not designed to reproduce effectively. A low-pass filter can keep high frequencies away from a subwoofer.
The correct settings depend on the speakers, enclosure, amplifier, and overall system design.
Avoid copying random crossover numbers from another vehicle. Use the manufacturer's recommendations as your starting point and adjust carefully based on the actual system.
Step 14: Tune the System
Once everything works, resist the temptation to immediately maximize every setting.
Start with the equalizer relatively flat. Set your source volume at a clean level, establish appropriate amplifier gain, and then make small adjustments.
Listen to familiar tracks that contain vocals, drums, bass, and different instruments. Pay attention to whether the vocals remain clear when the bass becomes stronger.
A good system should sound balanced rather than simply loud.
If you have a DSP, you can take tuning much further by adjusting equalization, crossover points, time alignment, and other signal-processing settings. For a first DIY installation, however, basic gain and crossover adjustments are enough to produce a noticeable improvement.
Common DIY Car Audio Installation Mistakes
Even a straightforward project can go wrong when installation is rushed.
Choosing Components by Peak Wattage
Large wattage numbers can look impressive, but they do not tell you enough about how the component will perform in a real system. Compare RMS ratings, impedance, sensitivity, and compatibility.
Ignoring Speaker Polarity
One reversed speaker can change the way the system produces bass and create an unfocused soundstage.
Using an Undersized Power Cable
The power cable needs to support the amplifier's electrical requirements. Cable selection should account for current demand and cable length.
Skipping the Fuse
The main amplifier power cable should have appropriate protection close to the battery. Never assume the amplifier's internal fuse replaces the need for proper vehicle-side protection.
Poor Grounding
A weak or inconsistent ground can create unnecessary electrical and audio problems.
Running Signal and Power Cables Carelessly
Planning cable routes helps reduce the possibility of unwanted noise and protects the wiring from heat, sharp edges, and moving components.
Mounting an Amplifier Without Considering Ventilation
Amplifiers generate heat. Install them where they have adequate airflow and are protected from moisture or physical damage.
Reassembling Everything Before Testing
Always test speakers, signal, amplifier operation, and controls before putting every panel back together.
How to Build a DIY Car Sound System Setup in Stages
You do not have to complete an entire system in one weekend.
A staged upgrade can be easier on your budget and much easier to troubleshoot.
| Upgrade stage | Main goal | Typical components |
|---|---|---|
| Stage 1 | Improve clarity | Front or rear speakers |
| Stage 2 | Increase clean power | External amplifier |
| Stage 3 | Add low-end impact | Subwoofer and enclosure |
| Stage 4 | Improve control | DSP or audio processor |
| Stage 5 | Refine the complete system | Tuning, sound treatment, system balancing |
This approach also helps you identify which upgrade actually made the biggest difference.
For example, if replacing the front speakers solves most of your problem, you may not need a major system overhaul. If the speakers sound good but lack authority at higher volume, amplification may be the next logical step.
When Should You Use a Professional Installer?
DIY installation is rewarding, but there are situations where professional help makes sense.
Consider professional installation when your vehicle has a complicated factory infotainment system, integrated factory amplifier, advanced vehicle networking, multiple audio zones, or unusual wiring.
A professional can also be valuable for high-output systems requiring substantial electrical upgrades. Large amplifiers and multiple subwoofers can place significant demands on the vehicle's charging and electrical system.
If you are uncomfortable working around airbags, vehicle wiring, battery connections, or interior electronics, there is no advantage in forcing yourself to complete the installation.
Knowing when to stop is part of doing a good DIY project.
A Simple Beginner's Installation Checklist
Before declaring the project finished, check each of these items:
Speaker size and mounting depth confirmed
Speaker impedance verified
Polarity checked
Speaker mounting hardware tightened
Wiring protected from moving parts
Battery connection handled safely
Amplifier power cable properly sized
Main fuse installed correctly
Amplifier ground securely attached
Signal cables connected correctly
Remote turn-on connection verified
Subwoofer impedance checked
Enclosure matched to the subwoofer
Amplifier gain adjusted conservatively
Crossovers configured
Every speaker tested
Interior panels securely reinstalled
System tested at different volume levels
Frequently Asked Questions
Is car audio installation difficult for a beginner?
A basic speaker replacement can be manageable for someone with basic hand tools and patience. Amplifier, subwoofer, and factory-system integration projects require more electrical and installation knowledge. Start with a smaller upgrade if you have never worked on vehicle audio before.
Can I install speakers without an amplifier?
Yes. Many aftermarket speakers can be powered directly by a factory or aftermarket head unit. However, an external amplifier may be beneficial when the speakers require more clean power than the head unit can provide.
Do I need an amplifier for a subwoofer?
Most traditional aftermarket subwoofers require dedicated amplification. Some powered subwoofers combine the subwoofer and amplifier in one enclosure, simplifying installation.
What should I upgrade first in my car audio system?
It depends on the problem you are trying to solve. If clarity is the main issue, speakers are a logical starting point. If you want stronger bass, a subwoofer and appropriate amplifier may provide a more noticeable improvement. If the system already has good components but sounds poorly balanced, tuning or signal processing may be more useful.
Build the System Around the Sound You Actually Want
A successful DIY car audio installation is less about having the biggest speakers or the highest wattage and more about making compatible components work together.
Start with the vehicle, understand its factory audio system, choose components based on RMS power and impedance, install the wiring carefully, and test each stage before moving forward. Small details such as polarity, grounding, fuse placement, mounting, and crossover settings can have a surprisingly large effect on the finished system.
The best upgrade is also the one that fits the vehicle and the way you actually listen to music. A carefully matched set of speakers can outperform a collection of oversized components that were chosen without a plan. Once the fundamentals are right, adding an amplifier, subwoofer, enclosure, or processor becomes a controlled upgrade rather than a guessing game.