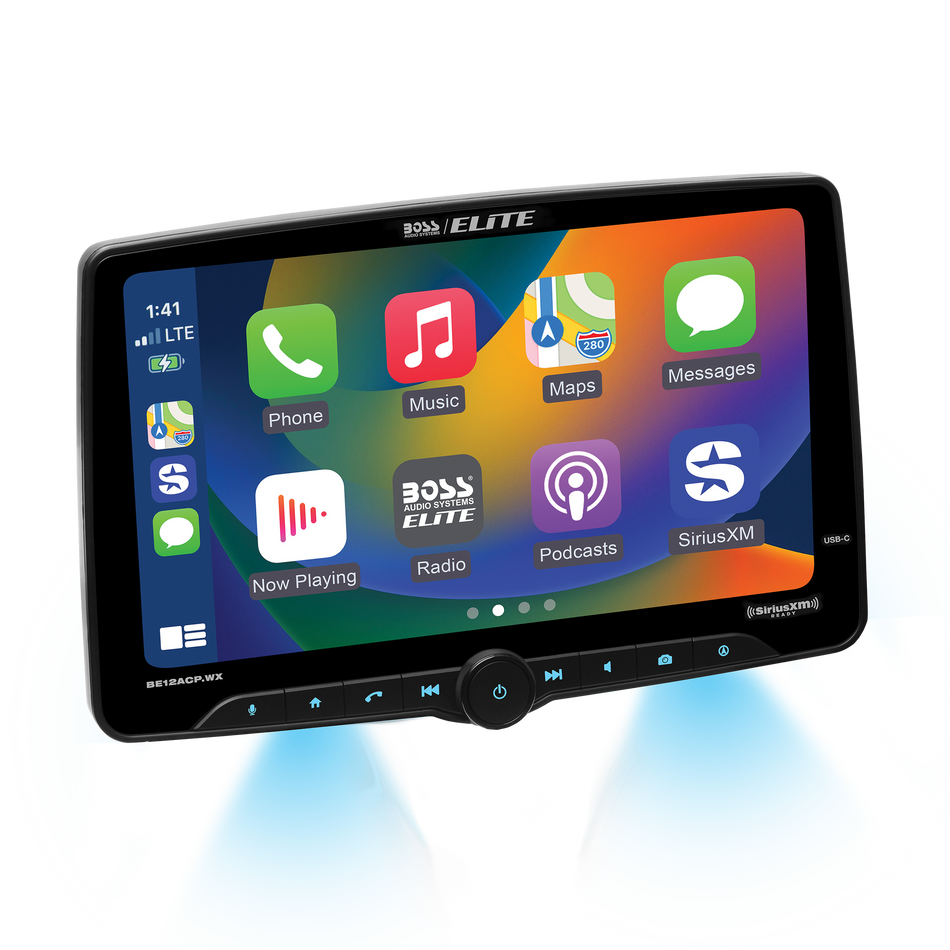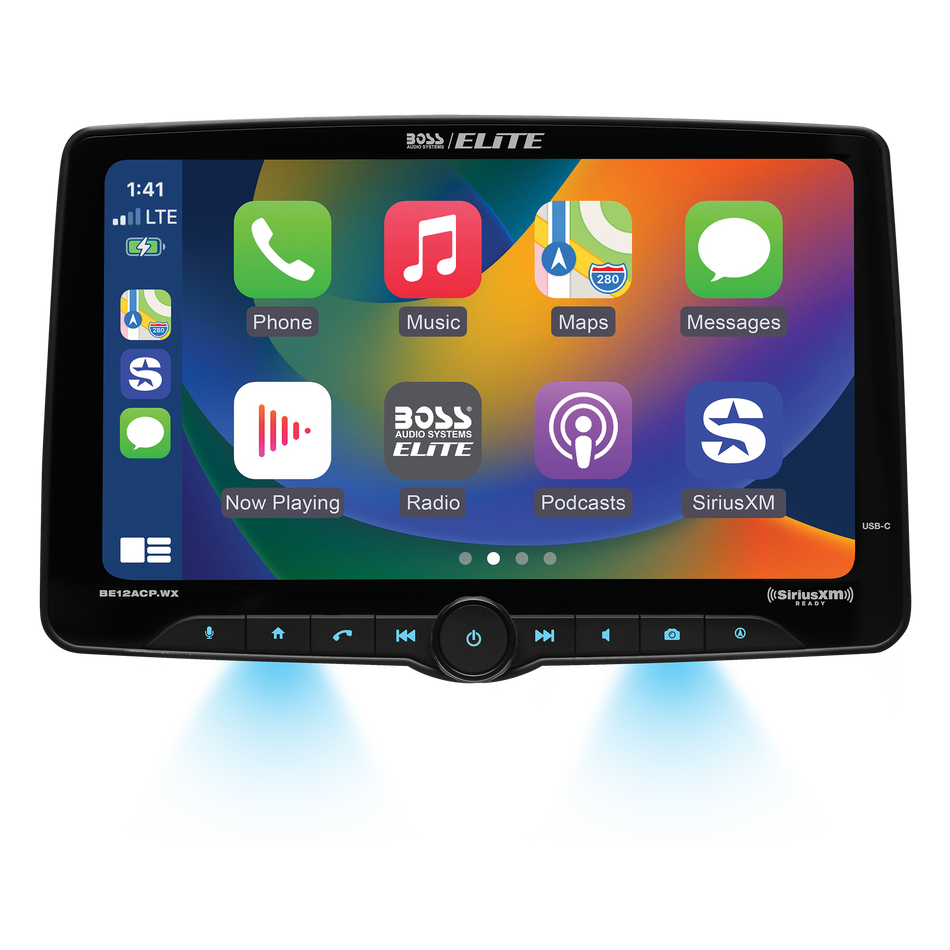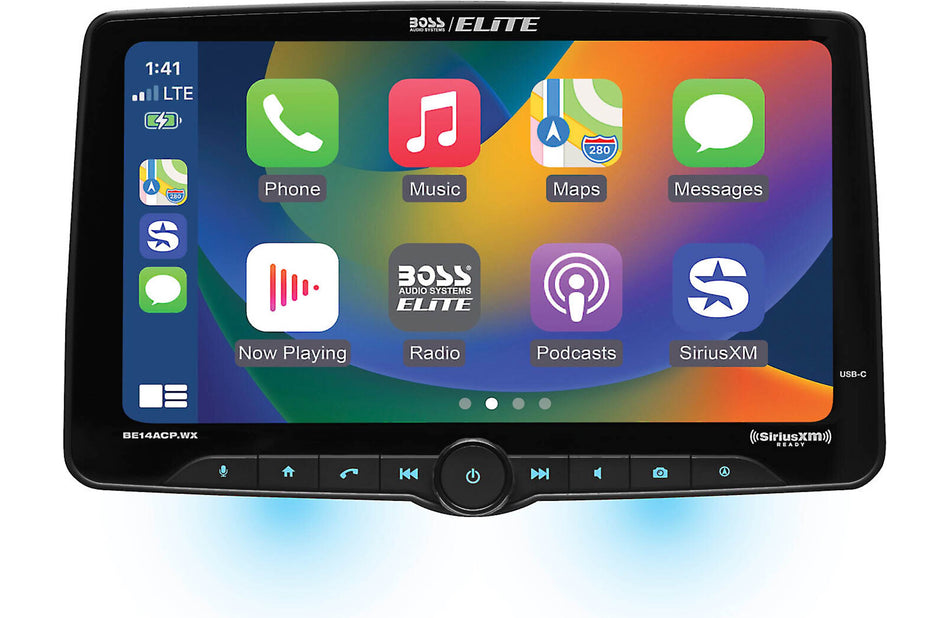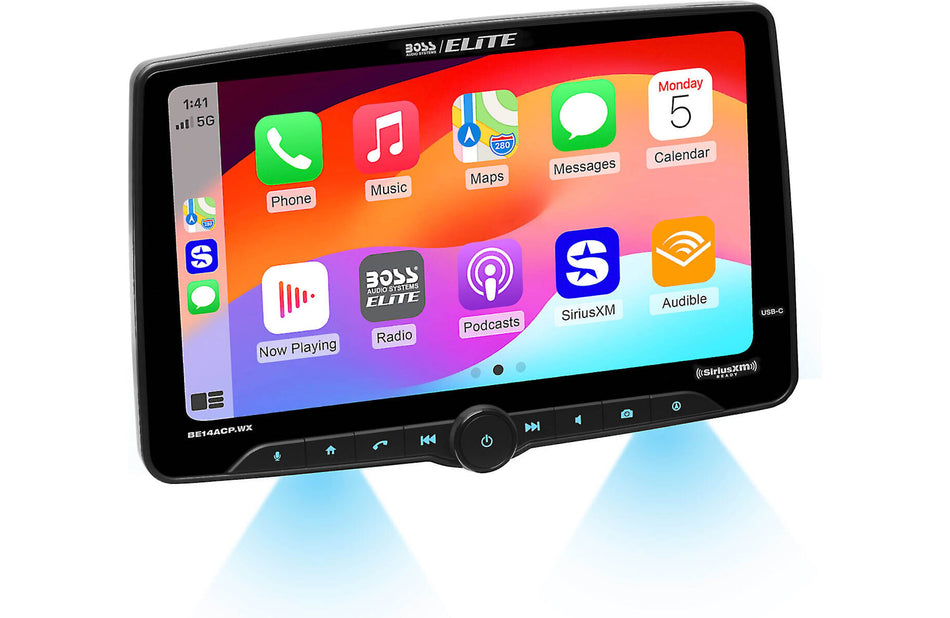

A new head unit can transform an older car's audio system, but the upgrade can do more than improve music. When the stereo supports a backup camera, the installation can also add a useful layer of visibility when reversing.
The challenge is making the camera, head unit, wiring, and dashboard fit work together properly. A camera that already works with the factory radio may use a connector or signal format that is not directly compatible with the replacement stereo. In other cases, the camera may need a dedicated power source, a reverse-trigger connection, or an adapter.
A successful backup camera install is therefore about more than connecting a video cable. The goal is to create a reliable system that automatically displays the rear view when reverse is selected while keeping the dashboard installation clean and practical.
What Changes When You Replace the Factory Head Unit?
Factory infotainment systems often combine several vehicle functions into one screen. Depending on the vehicle, that can include the radio, Bluetooth, steering-wheel controls, parking assistance, and backup-camera display.
Replacing the factory unit can affect how those systems communicate.
An aftermarket head unit may provide a dedicated camera input, but the vehicle's original camera may not use the same connector or wiring arrangement. Some vehicles also require an interface to preserve factory functions.
This is why compatibility should be checked before removing the original stereo.
The first questions to answer are simple: Does the new head unit accept a backup-camera signal? Does the factory camera produce a compatible video signal? Does the vehicle require an adapter? Where will the reverse trigger come from?
Getting these answers first can save considerable troubleshooting later.
How a Head Unit Backup Camera Connection Works
The basic concept is straightforward.
The camera needs power, the video signal needs a path to the head unit, and the stereo needs to know when the vehicle is in reverse.
When reverse is selected, the head unit receives the reverse signal and switches to its camera input. The camera sends its video feed through the connected signal cable, allowing the display to show the area behind the vehicle.
The exact wiring varies by vehicle and equipment, but the system generally involves three functions:
Camera power: Provides electrical power to the camera.
Video connection: Carries the camera image to the head unit.
Reverse trigger: Tells the head unit that reverse has been selected.
Some cameras and head units use additional connections or vehicle-specific interfaces, so always follow the wiring diagrams supplied with the equipment.
Important Note: Never assume that a factory camera's connector can be plugged directly into an aftermarket stereo. Connector shape, voltage requirements, video format, and vehicle integration can all differ.
Check Compatibility Before Starting the Backup Camera Install
The most important part of the installation may happen before you touch a dashboard panel.
Look up the exact vehicle, factory radio, replacement head unit, and camera combination. A camera system that works perfectly in one vehicle may require an adapter or different wiring in another.
Pay particular attention to the head unit's camera specifications.
Check whether it supports:
-
The required camera video format
-
The camera's operating voltage
-
A dedicated reverse-camera input
-
Reverse-trigger activation
-
The required camera resolution or signal type
You should also determine whether the vehicle already has a factory camera.
If it does, you may be able to retain it rather than replacing it. In other vehicles, using an aftermarket camera may be the simpler route.
Keeping the Factory Camera or Installing a New One?
There are two common approaches.
Retaining the Factory Camera
Keeping the original camera can make sense when it is already positioned correctly and provides an image you are happy with.
The challenge is integration. The factory camera may use a proprietary connector or require a specific adapter to communicate with the new head unit.
This route can also preserve the factory appearance because there is no need to install another camera on the rear of the vehicle.
Installing an Aftermarket Camera
A new camera may be preferable when the original unit is damaged, outdated, incompatible, or produces an image that does not meet your needs.
An aftermarket camera can also provide an opportunity to choose a different mounting style or viewing angle.
The key is to select a camera that matches the head unit and vehicle installation rather than buying the camera separately and assuming compatibility.
Installing the Camera in the Right Location
Camera placement affects what you can actually see.
A camera mounted too high may provide a wide view but show less of the area immediately behind the bumper. A camera mounted too low can provide a closer view while exposing the lens to more road debris.
The mounting position should also provide a stable image. If the camera vibrates because it is attached to a flexible surface, the display can become distracting while reversing.
For many vehicles, the license-plate area or a factory-style mounting location provides a practical starting point.
The final position should allow the camera to remain protected while giving you a useful view of the rear area.
Routing the Camera Wiring
Once the camera location is established, the video cable needs to reach the dashboard.
This is where patience matters.
The cable should be routed through the vehicle in a way that protects it from abrasion, heat, moisture, moving parts, and sharp edges. Interior trim can often conceal the wiring, producing a much cleaner installation than leaving the cable exposed.
Avoid routing the cable where it can become pinched by seats, hinges, trunk hardware, or trim panels.
If the cable passes through an opening between the vehicle body and a moving hatch or trunk lid, use an appropriate existing wiring path when possible.
A clean cable route does more than improve appearance. It also reduces the chance of the signal cable being damaged later.
Connecting the Reverse Trigger
The reverse trigger is what allows the head unit backup camera function to switch on automatically.
The head unit needs a reliable indication that the transmission has been placed in reverse. Depending on the vehicle and installation method, this signal may come from a reverse-light circuit, vehicle interface, or another compatible source specified by the head unit manufacturer.
This connection needs to be identified correctly.
If the trigger signal is wrong or unstable, the camera may fail to appear, switch on at the wrong time, or behave inconsistently.
Before finalizing the dashboard assembly, test the trigger repeatedly. Put the vehicle into reverse and confirm that the head unit changes to the camera display as expected.
Installing the New Head Unit
The dashboard portion of the project is closely connected to the camera installation.
A vehicle-specific dash kit backup camera installation can help the replacement stereo fit the dashboard correctly while providing the appropriate mounting and trim components.
Depending on the vehicle, additional integration hardware may be needed for functions such as steering-wheel controls, factory amplifiers, or other retained features.
The replacement head unit should be secured properly rather than relying on improvised mounting.
Before closing everything up, connect the camera system and verify that the display, reverse trigger, audio system, and other retained functions operate correctly.
Test the Camera Before Reassembling the Dashboard
This is one of the easiest ways to avoid unnecessary frustration.
Do not wait until every trim panel has been reinstalled before checking the camera.
With the system connected, verify that the image appears when reverse is selected. Check the camera angle and make sure the image is stable.
Also check whether the display has useful parking guidelines and whether those guidelines can be adjusted or disabled. Some systems generate guidelines electronically, while others may use guidelines built into the camera.
If something does not work, troubleshoot it while the wiring is still accessible.
Pro Tip: Take a quick photo of the original wiring and connector arrangement before disconnecting the factory head unit. Having a visual reference can make it much easier to identify connections during reassembly.
Understanding Camera Image Quality
A backup camera does not need to produce a cinematic image to be useful.
What matters most is whether the image gives you a clear understanding of the area behind the vehicle.
Resolution matters, but so do lens quality, viewing angle, low-light performance, dynamic range, and display quality.
A camera that produces a sharp image in bright daylight but struggles badly at night may be less useful than a model with balanced performance across different conditions.
The head unit's screen also affects what you see. A good camera connected to a poor-quality or incorrectly configured display may not look as good as expected.
Do Parking Guidelines Actually Help?
Parking guidelines can make reversing easier, particularly when judging distance.
However, they should not be treated as a precise measurement tool unless the system has been properly calibrated.
Some cameras display fixed guidelines, while compatible head units may offer adjustable or dynamic guidelines.
If the guidelines do not correspond with the vehicle's actual path, they can create a false sense of accuracy.
Use the camera as an additional visibility tool while continuing to check mirrors and surroundings.
Backup Camera vs. Rear View Camera for Car Audio Systems
Although a rear view camera car audio setup is integrated into the stereo system, its purpose goes beyond entertainment.
The head unit becomes the display for both audio functions and rear visibility. This is one reason replacing an old stereo can provide a practical upgrade beyond better connectivity.
Instead of installing a separate dashboard monitor, the camera can use the screen you already interact with for music, navigation, calls, and other functions.
This creates a cleaner cabin and reduces the number of separate displays mounted around the dashboard.
Common Installation Problems
The Screen Does Not Switch to the Camera
Check the reverse trigger first. If the head unit does not know the vehicle is in reverse, it may never activate the camera input.
The Screen Switches but Shows No Image
This can point toward a video connection, camera power, compatibility, or signal-format problem.
The Image Flickers
Inspect the power and video connections and check the routing of the signal cable. Poor connections can cause intermittent video.
The Camera Image Is Upside Down
Some cameras allow orientation changes, while others require a different mounting position.
The Image Is Too Dark at Night
Check the camera's low-light capability and installation position. A lens partially obstructed by trim or dirt can also reduce visibility.
The Camera Works Intermittently
Look for loose connections, unstable power, damaged wiring, or an unreliable reverse-trigger connection.
How a Clean Installation Comes Together
A successful system should look like it belongs in the vehicle.
The camera should sit securely at the rear, its wiring should be concealed as much as practical, and the new head unit should fit the dashboard without obvious gaps or improvised brackets.
Inside the cabin, the screen should switch to the camera automatically when reverse is selected. Once reverse is canceled, the system should return to the previous head-unit function according to its configuration.
That combination of integration and reliability is what turns a basic camera addition into a useful car safety upgrade.
When a Professional Installation Makes Sense
A basic camera and head unit installation may be manageable for an experienced DIY enthusiast. However, some vehicles are considerably more complicated.
Professional installation becomes particularly useful when the vehicle has a factory amplifier, integrated infotainment system, proprietary camera, advanced steering-wheel controls, or other electronic systems that need to remain functional.
It is also worth getting professional help when you're uncertain about power connections, reverse-trigger wiring, airbag-area trim removal, or vehicle-specific electronics.
A camera is a safety-related feature, so reliability matters more than rushing through the installation.
A Few Things to Check Before Calling the Job Finished
Before considering the installation complete, test the entire system under normal conditions. Confirm that the camera activates when reverse is selected, the image remains stable, the viewing angle is useful, and the wiring does not interfere with any moving components. Check the head unit's other functions as well. Make sure audio playback, steering-wheel controls, Bluetooth, factory amplification, and any other retained features continue working as intended. Finally, clean the camera lens and inspect the exterior mounting point. A perfect installation can quickly become less useful if the lens collects dirt or water.
4 FAQs About Backup Camera Integration
1. Can I connect a factory backup camera to a new head unit?
Sometimes. Compatibility depends on the vehicle's factory camera, connector, video signal, voltage requirements, and the replacement head unit. An adapter or vehicle-specific interface may be necessary.
2. Do I need a new camera when installing an aftermarket head unit?
Not necessarily. If the factory camera is compatible with the new head unit or can be integrated using an appropriate adapter, you may be able to keep it. Replacing it may make more sense when compatibility or image quality is an issue.
3. Where should a backup camera be mounted?
The ideal location depends on the vehicle, but a stable position near the license plate or original factory camera location is often practical. The camera should provide a useful rearward view without being easily obstructed by dirt or vehicle components.
4. Is a backup camera a replacement for checking mirrors?
No. A backup camera provides additional visibility, but drivers should continue checking mirrors and the surrounding area before and while reversing. Camera views can have blind spots and may not show every obstacle.
Turn the Head Unit Into More Than an Audio Upgrade
Pairing a new head unit with a backup camera can make an older vehicle feel significantly more modern. The biggest benefit comes from integrating the two systems properly rather than treating the camera as an afterthought.
Start by confirming compatibility, decide whether to retain the factory camera or install a new one, route the wiring carefully, connect the reverse trigger correctly, and test everything before reinstalling the dashboard trim.
Done properly, the result is a cleaner rear view camera car audio integration that adds useful visibility without filling the dashboard with another separate screen. A well-planned backup camera install can turn a stereo replacement into a broader technology and car safety upgrade.